Tuesday 27 May 2014

Camera Polymer Clay Tutorial


Hi everyone, 
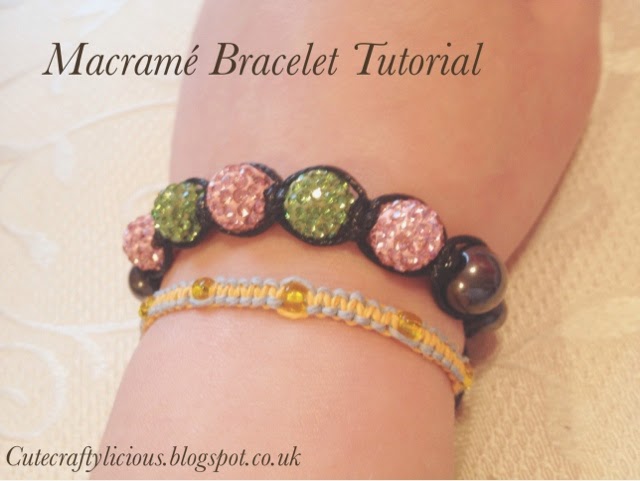
I'm back with another polymer clay camera tutorial. I made this charm to look similar to the canon T3i (I don't know much about cameras but this is the choice of many youtubers).

 Before you start you will need;

~Black Polymer Clay,
~A Range of Tools (preferably a straight blade and craft knife),
~Printout of Logos, Camera lense, and Picture. (found at bottom of post)

(click images to enlarge)

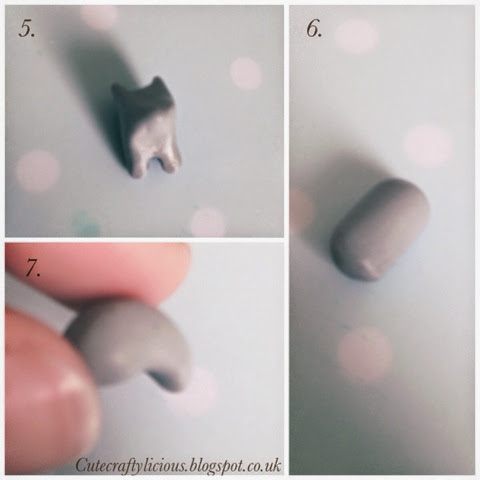
To begin take your black ball of clay (1) and shape it into a rectangular shape using the side of the straight blade to ensure a clean edge(2). Take your rectangle and roll making sure you do not roll to the very edge(3). This should make a curved, thick column on the left hand side(4). This is the main body of your camera charm.


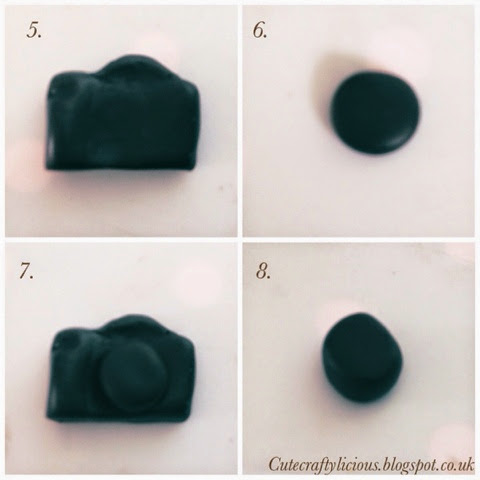
Next roll a small sausage of black clay and add to the top (your logo will be placed here later)(5). Then make a circular pancake shape in proportion to your camera (this is the base of your lense) (6) and position in the centre of the main camera(7). After that mould another, slightly thicker pancake shape and score vertical lines all the way around for texture(8).


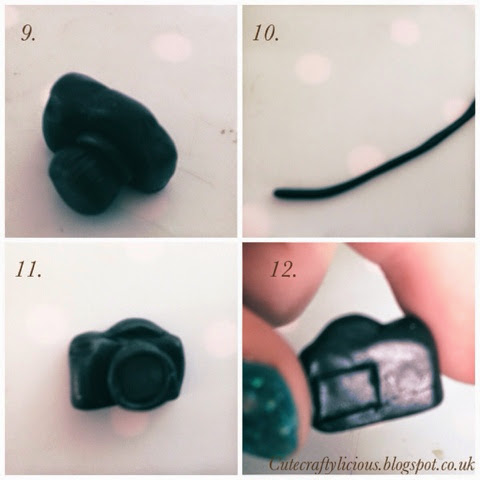
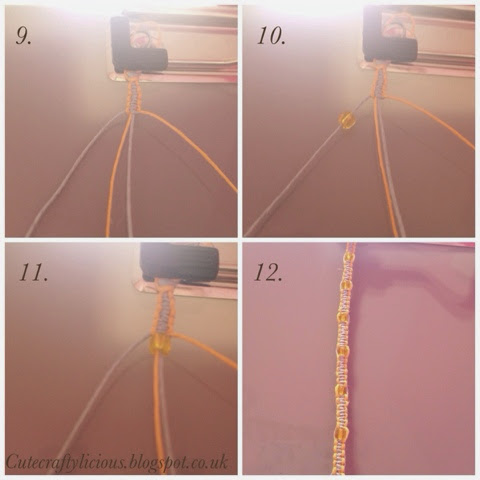
Then add this lense piece to the camera by positioning on top of the thinner pancake shape(9), it should start to look more like a camera. For the next step roll out a sausage(10) and press around the camera lense as a rim(11). You have now finished one side of your camera. Turn your model over and score, using a craft knife, a rectangle (12) you may also add buttons for extra detail.
 

Now simply slide in an eye pin on both sides and bake using the instructions on the back of the packaging(13). Once this is done you can print out some logos to glue on and then varnish for a shiney finish! 

Hope you enjoyed this tutorial! keep the Creative Juices Flowing!x
 
Here are the logos and printouts you will need. I did them in different sizes and will need to be copied, pasted and resized into an A4 document.
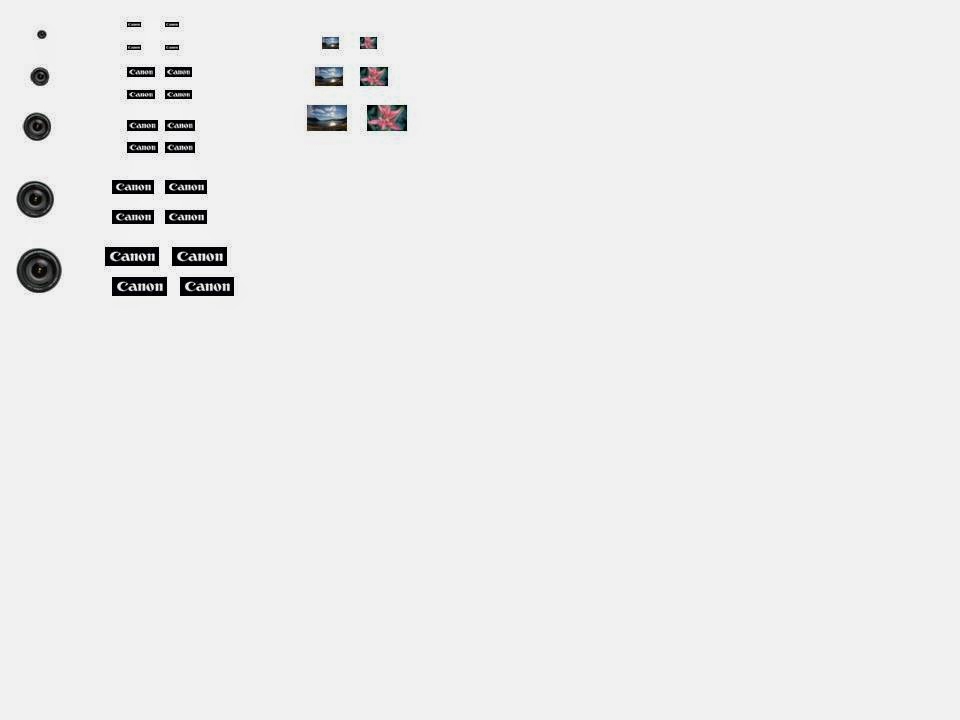
(click to enlarge)
 

Sunday 25 May 2014

DIY Pencil Case


Hi everyone, 

Recently I came to the conclusion that I really needed a new pencil case. After wondering through shops I also came to the conclusion that the one I wanted didn't exist-a floral patterned pencil case! So then I googled pencil case patterns and found this tutorial; 


I did have to make my own pattern- which in many ways was a good thing as I could make it to my own specifications. Also I ran out of ordinary zips and had to improvise with an invisible one. However once again sewing came to the rescue and I am quite pleased with the result! New tutorials also coming soon!

Keep the creative juices flowing! Enjoy!x

Tuesday 20 May 2014

Cute Craftylicious Pine Box


Hi everyone, 

Thought I'd just share this box. I made it using pine and cutting finger joints, which were then sanded down, in order to make the edges rounded. The lid has been laser machined to feature craft related objects and also features my blog name (this took a while to engrave). I may even add spare buttons and also some decopatch to brighten up the dull appearance of the outside. This box will store my smaller creations and keep them safe. 

Hope this gives you crafty ideas for your own storage! Enjoy!x


Friday 16 May 2014

Wolf Polymer Clay Tutorial


Hello everyone, recently a friend challenged me to make a dust plug wolf for her younger brother. This challenge inspired this blog post, and here we go! A tutorial on how to make your own wolf out of polymer clay!


Before you start it's handy to have the right equipment (it's a pain to have to stop half way!);
~Grey Polymer Clay (or any other colour if you choose),
~A craft Knife (Exacto knife),
~ Any other tools that may help,
~A range or white, black, and dark brown acrylic paints,
~Plastic Dust plug (if this is what you want).


Let's begin!! 
To start take your ball of grey clay (1) and half it, we will use the second ball later(2). We are going to begin with the front of the body (head and front legs). Take your ball and roll it on one side (3). 

This should leave you with a semi circular shape at the top and a slightly oblong shape at the bottom. Then mould the clay into two ears and a nose by pushing and pressing the clay into place(4).


Once you have your main body shape cut, using your craft knife, a triangle- this will make the front legs (5). You have now finished the front of the Wolf's body. Take your second ball of clay and roll into a flat sausage shape (6). Then slightly curve the clay to create the back legs(7).

(click on the images to enlarge)
 
Next cut another- slightly larger triangle to create the back legs. To make the bushy tail, roll out an excess piece of clay and roll one side thinly (8). Next add onto the back end of the body (9). You have now finished the basic modelling of your wolf now add both parts together (10).


Next paint like in the very first picture using a fine brush and acrylics. Remember to make the brush strokes look like fur, for added effect! Hope you enjoyed this tutorial! Keep the Creative juices flowing!x
 
Please post a comment if you enjoyed and follow me on my social media, Links below;
Follow Me on Google+
Follow Me on Bloglovin'
Follow Me on Twitter

Sunday 4 May 2014

Macramé/Shamballa Bracelet Tutorial


Hi everyone, this weeks tutorial is how to make a macramé bracelet using the box knot.This is also the same method that is used to create fashionable shamballa bracelets. Macramé bracelets can be given as gifts and made as friendship bracelets.

Before we start you will need (1);
~A Clip Board,
~Scissors,
~Hemp, Waxed Cotton or String.


To begin, take your scissors and cut roughly 1m of two pieces of hemp. (The finished look appears better if the colours contrast.) Then fold both pieces in half and knot a few cm from the end(2). Clip the loop made to your clip board and spread out the 4 strands; there should be different colours on the outer side(3). After that take your 1st strand and fold over the next two strands (this should create a '4' shape), (4).


Next take your last strand and take it over the tail of the number 4, under the middle strands and back up through the loop(5).This should make a loose knot (shown in picture 6). Pull tight; you have now created the first half of your box knot. Take the same strand you started with (it will be on the opposite side now) and take it over the middle strands, to create a 'backwards 4' shape(7). Then again take the yellow strand over the tail of the 'backwards 4', take under the middle strands and back through the loop(8). You have now created a full box knot, repeat from the start until your bracelet is an appropriate length.


After I did 5 box knots I decided to add a bead. This can be done on any strand on the side or both strands in the middle. Once you have threaded your bead on simply continue the next half knot (9-11).
Continue to add beads and tie box knots until your bracelet goes around your wrist once (including top loop)(12).


When your bracelet is long enough tie at the bottom and then a few cm down for ease of taking on and off. There you have a finished macramé bracelet. Spiral knots also look good, when you do not complete a backward half box knot a spiral will start to form.

Keep the creative juices flowing! Enjoy!x